🧹 5. Configuration [Install & Clean-Up]
For Stremio proceed directly below, for Nuvio scroll further down.
🎞️ Stremio
Cinebye is the addon order and patch management layer for Stremio. It lets you apply cleanup patches and control addon priority so AIOMetadata and AIOStreams are used in the right order.
Go to this Cinebye instance and:
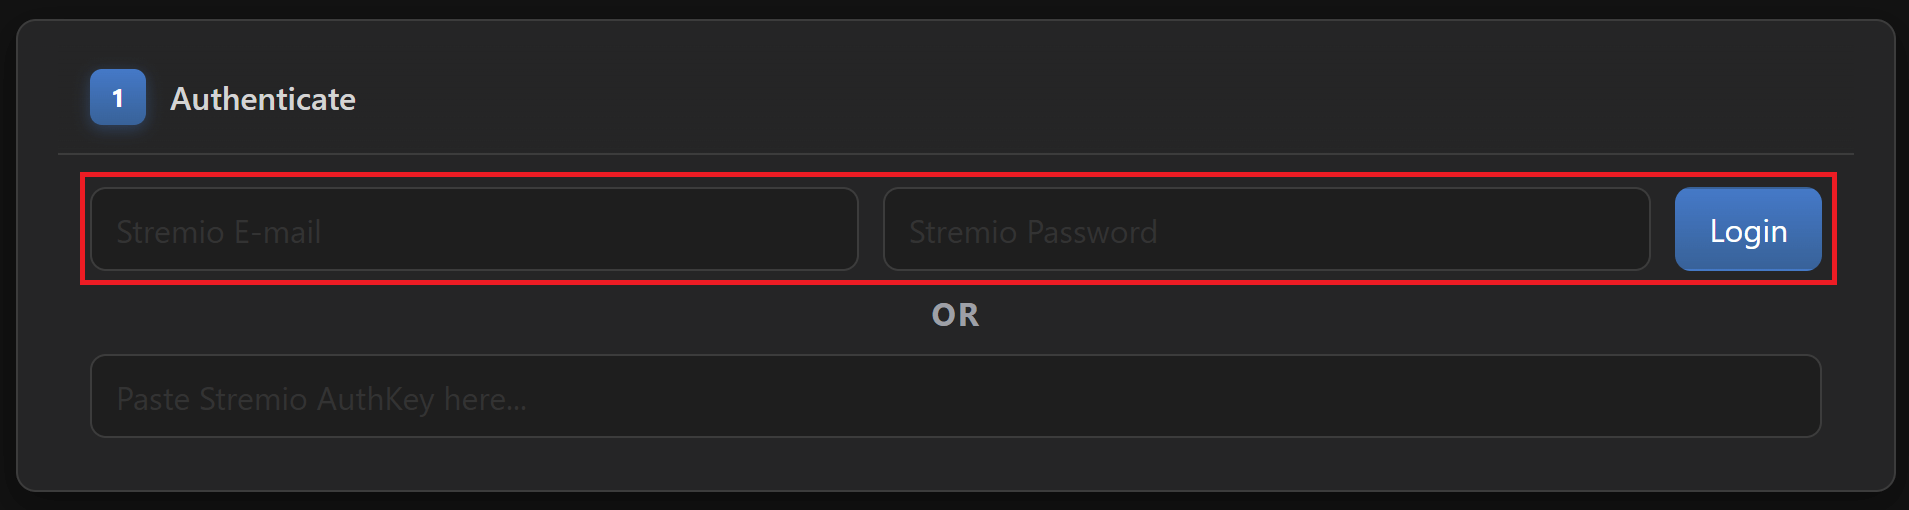
- Sign in with your Stremio account details.
- OR if you don’t want to use your credentials directly, there is a more complicated approach:
- Login to Stremio Web using your credentials in your browser.
- Open the developer console (F12 on Chrome) and paste this code snippet:
JSON.parse(localStorage.getItem("profile")).auth.key - Take the output value and paste it in Cinebye where it says “Paste Stremio AuthKey here…”.
- Press Enter or click Login.
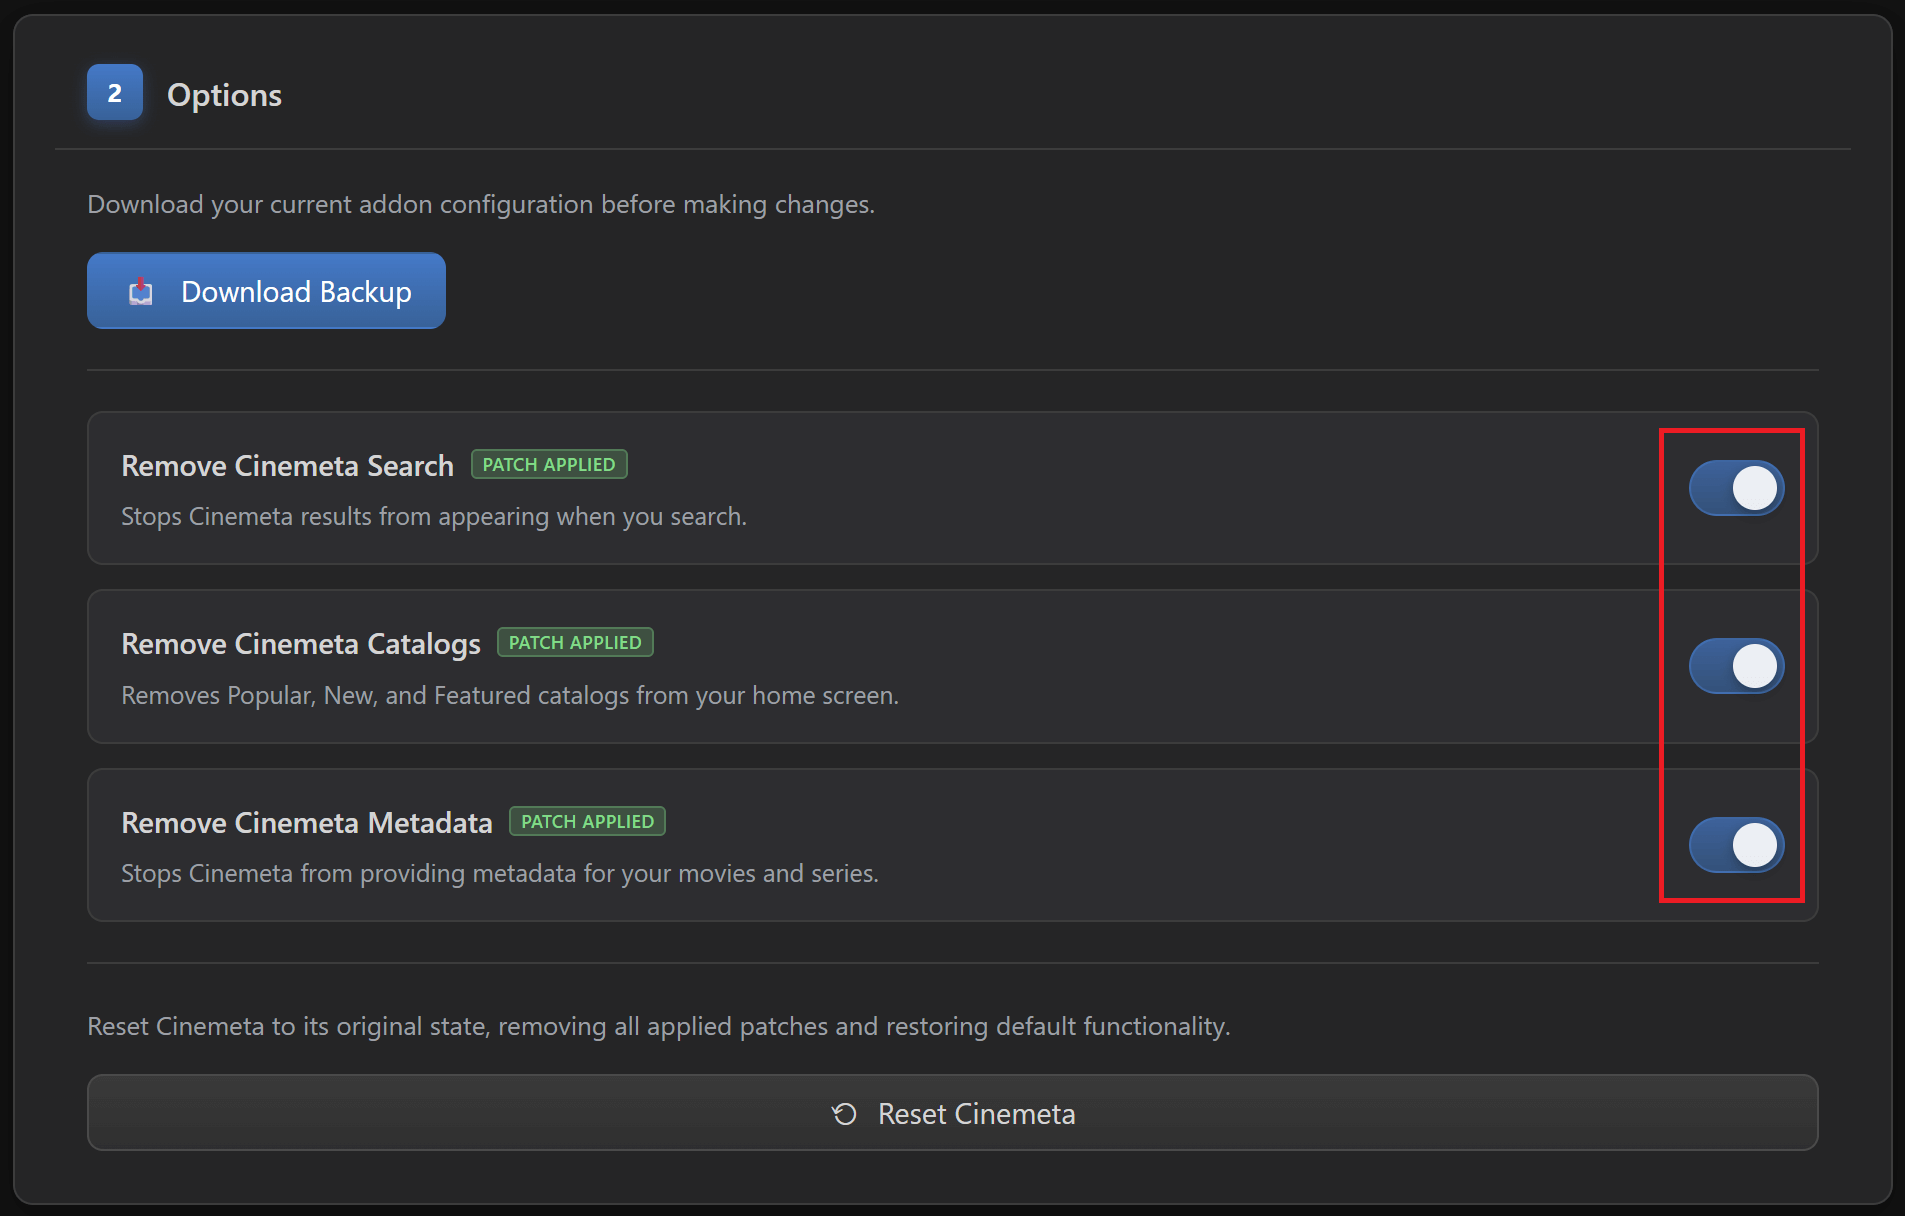
- Once authenticated and the options become available, in section “2 - Options” you can download a backup first just to be safe.
-
Enable all three patches: “Remove Cinemeta Search”, “Remove Cinemeta Catalogs”, and “Remove Cinemeta Metadata”.
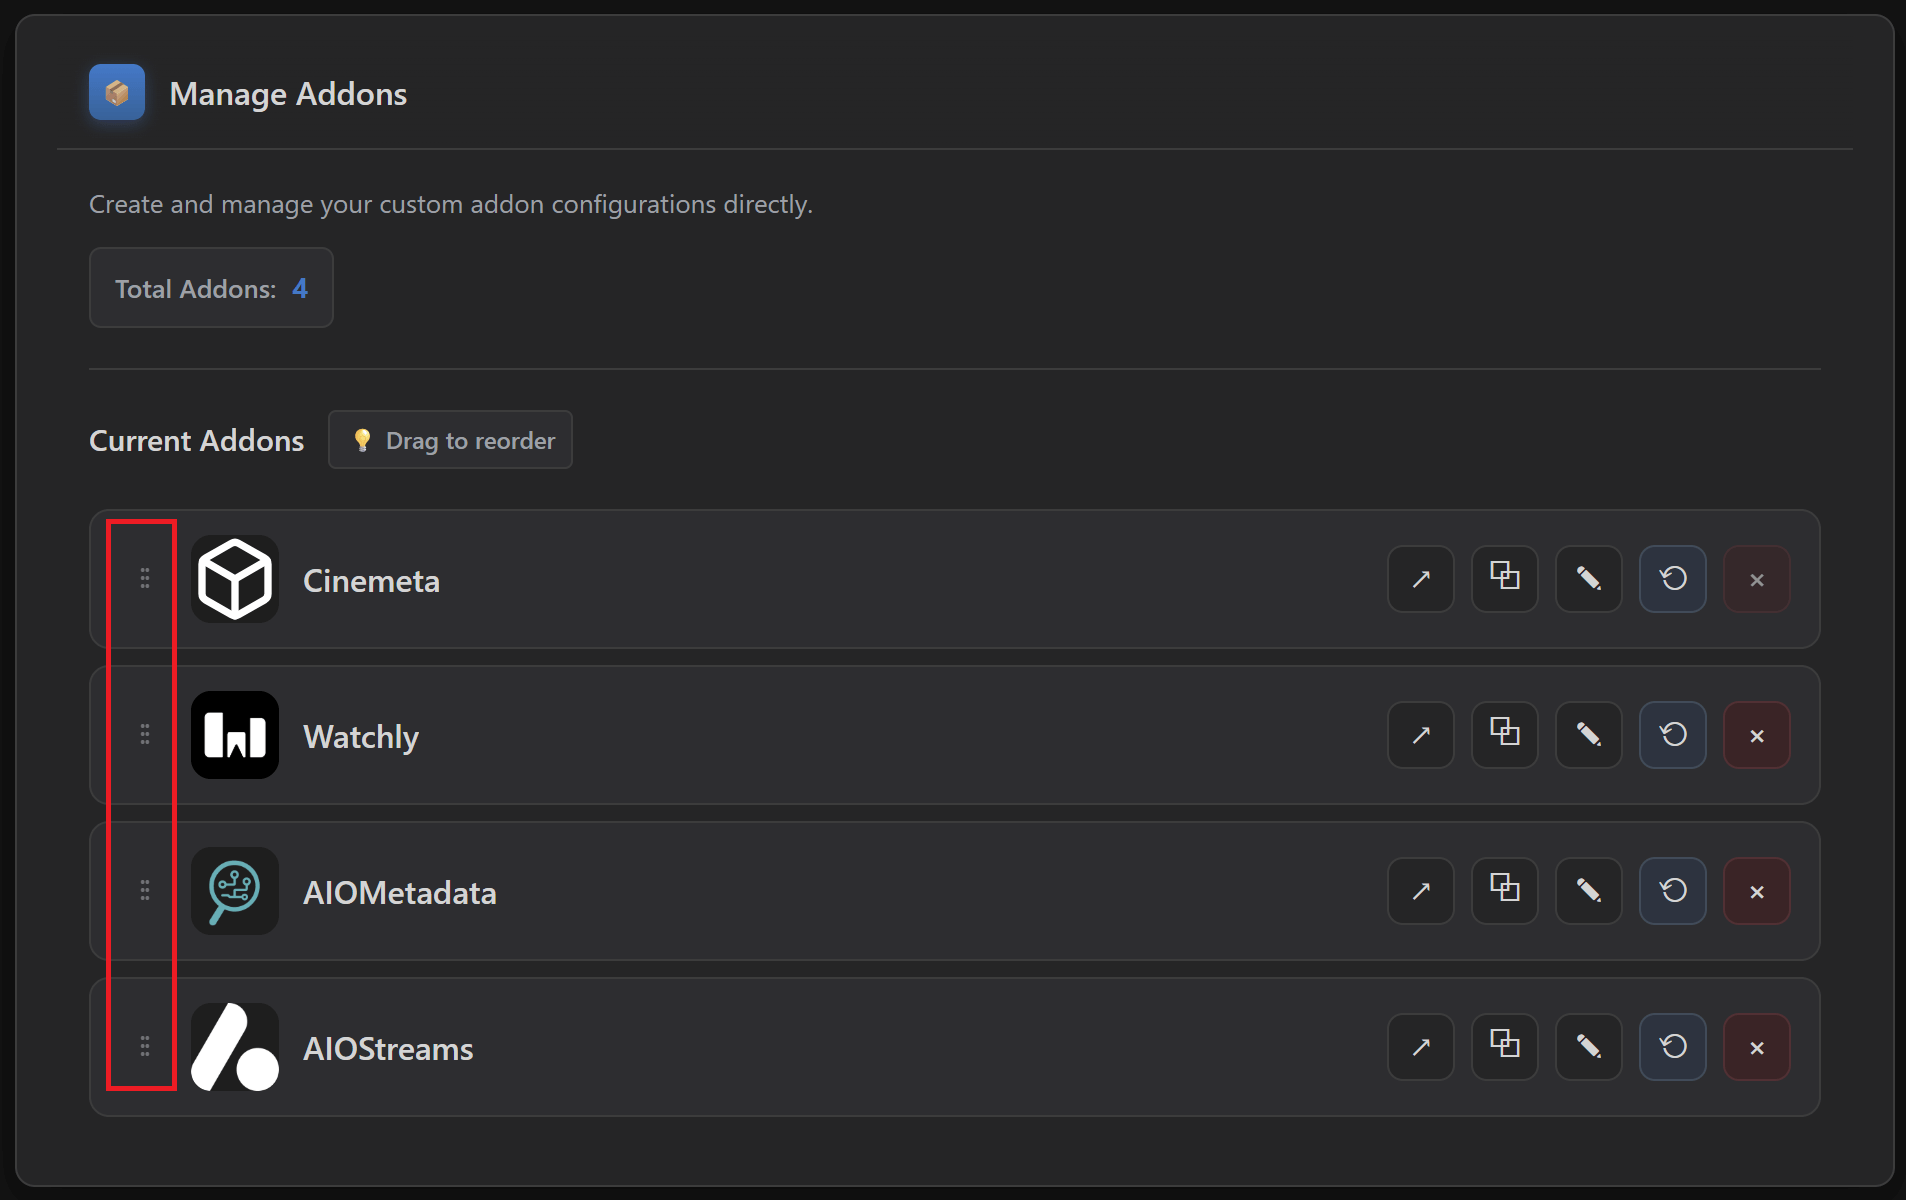
- Scroll down to “Manage Addons” and change the order of the addons to this:
- Cinemeta
- AIOMetadata
- AIOStreams
- Local Files
-
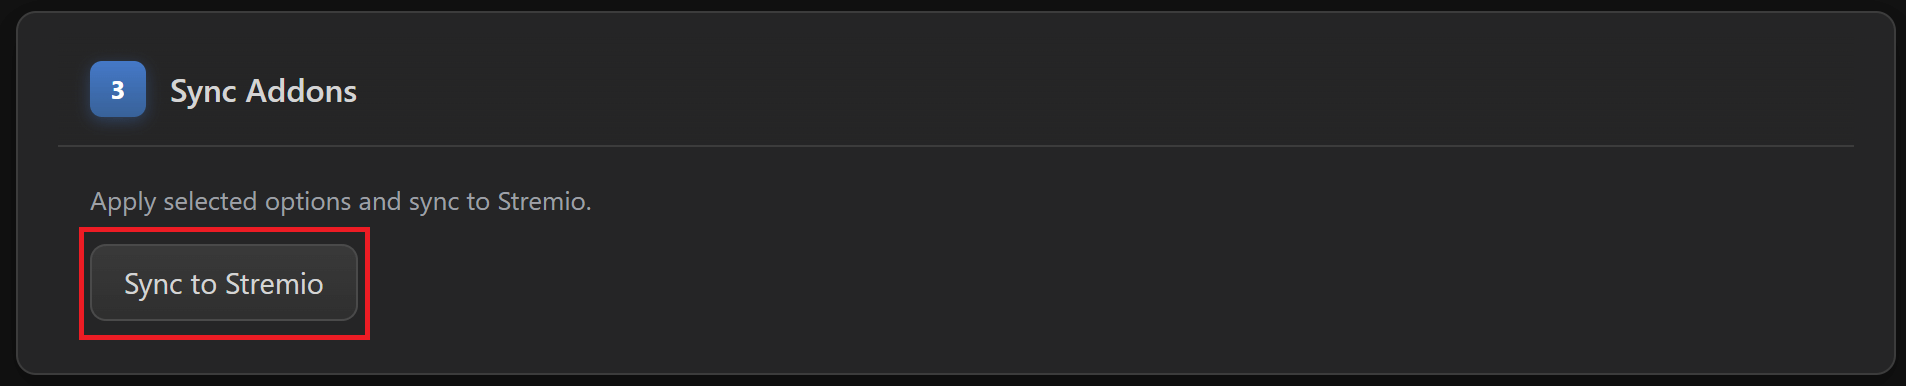
Scroll back up to “3 - Sync Addons” and click on “Sync to Stremio”.
📢 NOTES FOR LATER:
- Keep in mind for later that if you change catalog structure in AIOMetadata after you installed it on Stremio, or if you add the CouchMoney lists from Step 6 below, then go to Cinebye, authenticate again with Stremio credentials, and click the Refresh icon to the right of AIOMetadata in the “Manage Addons” section.

🚀 Nuvio
- Install Addons: Once you have the Manifest URLs ready, go back to Nuvio in your browser.
- Open nuvioapp.space.
- Go to your Account section.
- If you have more than one profile, make sure the profile you want to configure is selected from the top header menu.
- This is important because addons and collections can be profile-specific. If you configure the wrong profile, you may open the app later and think nothing worked, even though you simply added everything to another profile.
- Click on Addons.
- Remove any existing addons if you want a clean setup.
- This is optional, but recommended if you are starting fresh.
- At the very least, I recommend removing Cinemeta, because the whole point of this setup is to let AIOMetadata handle metadata and catalogs instead.
- If you already have addons you intentionally want to keep, then you can keep them, but for beginners a clean setup is usually easier to troubleshoot.
- Click on Add Addon.
- Paste the first Manifest URL into the addon URL field.
- Leave the Enabled toggle selected.
- Leave the Name field empty.
- Nuvio should autofill the addon name automatically from the manifest, so you normally don’t need to type anything here.
- Press Save.
- Repeat the same process for each addon.
- Ideally, add them directly in this order:
- Watchly (optional)
- AIOMetadata
- AIOStreams
- For 🌐 HTTP Users: Go here to choose the Plugins that are suitable for you and to learn how to install them on Nuvio.
- In addition to supporting Stremio addons, such as AIOStreams you installed above, which also includes HTTP sources that are properly filtered and formatted, Nuvio also supports Plugins, which can provide many additional HTTP sources. They don’t go through AIOStreams unfortunately, so you won’t get the optimized sources list like that addon does, but you would get additional stream sources. This is not necessary if you go for the P2P or Debrid configuration on AIOStreams above, but recommended for HTTP if you notice you are not getting enough streams from it.
- Collections Pack: Now let’s add the collections pack with Dynamic Backdrops, as described in 🚀 Nuvio, that organizes the installed AIOMetadata catalogs together into the groups described in 🔎 AIOMetadata.
- Go to this Nuvio Collections Pack.
- Click Add Pack.
- Make sure the correct profile is selected.
- Again, if you have more than one profile, double-check this. Otherwise you may install the pack on the wrong profile.
- Under Install Mode, choose the option you prefer.
- Merge by matching IDs is usually the safest option if you already have some collections and want to keep them.
- Replace profile collections is probably the cleanest option if your Nuvio account is new and you do not have existing collections you care about.
- If you are starting fresh, I would suggest choosing Replace profile collections, because it gives you a cleaner result and avoids duplicate or messy rows.
- Click Add Pack/Merge Pack/Replace Profile, depending on the mode you selected.
- The exact button name may change depending on the install mode.
- App Settings: Lastly, open the Nuvio app and adjust a few settings to make the setup behave properly.
- Open the Addons tab.
- Go to Reorder home catalogs and enable the Follow addons order toggle.
- This keeps the catalog order consistent with the order configured in the addons for them, avoiding any confusion.
- Go to Settings.
- Go to the Trakt tab and follow the steps to integrate your Trakt account.
- This is recommended if you want watch history, progress, and recommendations to work better across the setup. If you do not use Trakt, you can skip this, but some personalization features may be less useful.
- Go to Layout, Detail Page, and enable the Prefer meta from external addon toggle.
- This tells Nuvio to prefer the metadata coming from your external metadata addon, which in this setup is AIOMetadata.
- Go to Integrations, then TMDB.
- Enable all toggles in the TMDB integration section.
- This helps Nuvio use all TMDB-related features across the interface.
- Configure the rest of the settings however you like.